Perfect Pie Crust Made with Luscious Lard!
Posted by Jill Bosich on
Loving Lard!
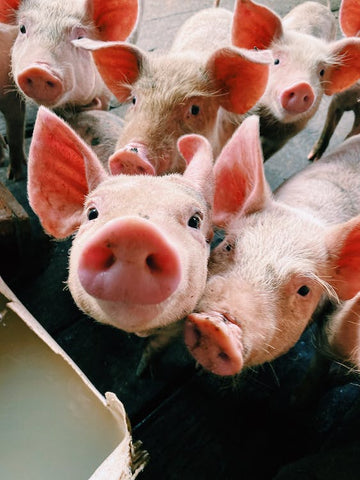
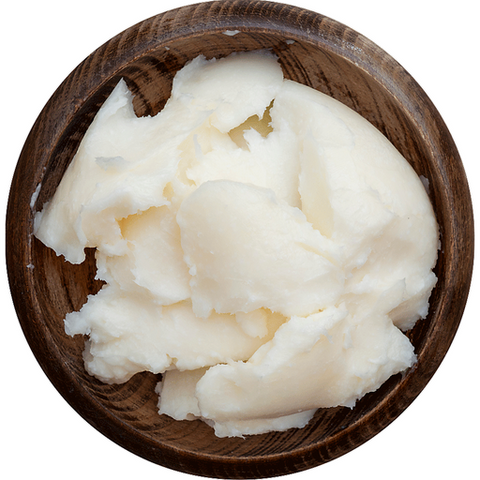
Lard is made by rendering the fat of pigs. It involves trimming and melting the fat, separating it from impurities, and allowing it to cool to become the creamy substance known as lard. The quality and flavor of lard can vary based on the source of the fat and the rendering process. It has a rich history in cooking and baking due to its ability to enhance flavors and create flaky textures, making it a versatile and valued cooking fat.

So are you ready to elevate your pie game to a whole new level? Look no further, because I'm about to share with you an amazing pie crust recipe that's both easy and delicious. Whether you're a seasoned baker or just starting out, this pie crust is forgiving and sure to impress!

The Rich History of Lard in Baking
Before we delve into the recipe, let's explore the fascinating history of lard in the world of cooking and baking, especially as it intertwines with the lore of American cowboys, pioneers, farmers, and homesteaders. Lard has been a staple in kitchens for centuries. Its roots trace back to ancient civilizations, where it was prized for its versatility and ability to enhance flavors.
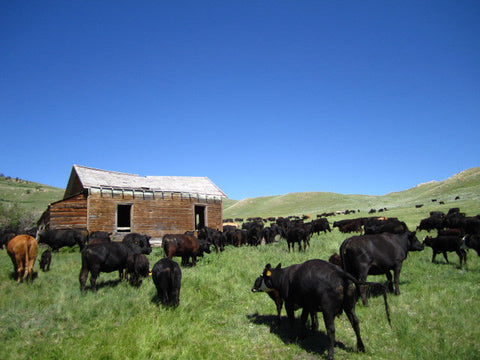
In the American West, lard played a pivotal role in sustaining early settlers and pioneers as they ventured into the rugged, untamed frontier. Cowboys, who spent long days on cattle drives under the open sky, relied on hearty, comforting meals that often featured lard-infused biscuits and pies. Lard was readily available and provided essential sustenance for those who helped shape the West.

The Cowboy Connection
American cowboys, with their rugged spirit and resourcefulness, were known to appreciate the unmatched flakiness and flavor that lard imparted to their culinary creations. In the heart of the Old West, beneath the vast expanse of the open prairie, they cherished pies made with lard crusts, often filled with ingredients sourced from the land they roamed.

Pioneering Pies
Pioneers, who journeyed westward in covered wagons, carried with them the knowledge that lard was a reliable ingredient, capable of transforming humble ingredients into delectable dishes. Lard-laden pie crusts were a symbol of comfort and stability in the midst of the unknown. Farmers and homesteaders, settling into new territories, found solace in the familiar taste of pies and pastries made with lard. It was a way to connect with their roots while adapting to the challenges of rural life.
Why Lard is the Secret to Perfect Pie Crust
Now that we've explored this rich history, let's understand why lard is the secret ingredient that makes this pie crust superior. Lard's unique composition, rich in saturated fats, creates those sought-after pockets of flakiness in your crust. This allows for a pie crust that's not only tender and flaky but also boasts an unmatched, authentic homemade flavor.

Lard's savory notes complement both sweet and savory pies, making it a versatile choice for all your pie-making endeavors. It's a nod to the time-honored traditions of cowboys, pioneers, farmers, and homesteaders who cherished the exceptional qualities of lard in their culinary heritage.
The Foolproof Recipe
Now, let's return to the foolproof pie crust recipe that incorporates the rich history and superior qualities of lard. This recipe blends the age-old wisdom of baking with lard with modern convenience, ensuring that you can easily achieve professional-quality results in your own kitchen.
Jill's Larded Pie Crust
Makes 1 Bottom crust (Double the recipe to make a top and bottom crust and form two discs)
Ingredients:
- 1 1/4 cups (160g) all-purpose flour, plus extra for rolling
- 1/2 teaspoon salt
- 1/2 teaspoon sugar (increase to 1 1/2 teaspoons for a sweeter crust!)
- 8 tablespoons chilled lard (you can even freeze it!)
- 3 to 4 tablespoons ice water, very cold
Instructions: If you don't have a food processor, the same can be done with a pastry hand blender or a fork in a bowl. Just be sure not to overwork the dough.
Combine the flour, salt, and sugar: Place the flour, salt, and sugar into a food processor and pulse until well combined. Next, add the lard, half at a time: Add half of the lard cubes and pulse 6 times. Then add the other half of the lard cubes and pulse 6 more times. You should have a mixture that resembles a coarse meal, with many lard pieces the size of peas. Then, slowly add the ice water: Add two tablespoons of ice-cold water (without the ice!) to the food processor bowl and pulse several times. Then add more ice water, slowly, a teaspoon at a time, pulsing several times after each addition, until the mixture just barely begins to clump together. If you pinch some of the crumbly dough and it holds together, it's ready, if not, add a little more water and pulse again. Try to keep the water to a minimum; too much water will make your crust tough. Use just enough to where the dough comes together in a slight ball shape. 
Remove the dough onto a floured surface. Press the dough into a flat disc shape, cupping the edges to smooth them out. You want to create a flat, round disc shape. Work the dough only enough to bring it together; do not over-knead, or your crust will end up tough. Dust off the extra flour and wrap the disc in plastic wrap airtight. Refrigerate it for at least 1 hour. You can also freeze the dough disk for up to three months.

(pictured: I doubled the recipe to yield a bottom and a top crust)
To prepare the crust: When you're ready to roll out the dough, remove it from the refrigerator for about 15 minutes to temper it slightly so it's easier to handle. Place the dough disc on a lightly floured, clean flat surface. Sprinkle some flour on top of the disc. Roll the dough to a 12-inch circle, to a thickness of about 1/4 to 1/8-inch thick. The dough is now ready to assemble into a pie and I recommend chilling the crust once again once you have it into the pie dish. This will set the lard up again and insure it steams beautifully as it's baking, creating those flavorful layers we love in a well-made crust!
Parchment paper can also be used to roll the dough out smoothly but if you don't have any on hand, just keep the surfaced well but lightly floured. You can see in this chicken pot pie I recently prepared, I prefer a thicker crust and rolled it out to about 1/4-inch!

With this rich history of lard in baking and a foolproof recipe at your fingertips, you're well-equipped to create exceptional pies that pay homage to time-honored traditions. Whether you're crafting sweet fruit pies or savory quiches, this lard-infused pie crust will be your secret to success. Enjoy the perfect blend of history and flavor in every bite of your homemade pies!
Share this post
- 2 comments
- Tags: crust, pie, pie crust

I can’t wait to try this for my chicken pot pie. Love your recipes. Happy Thanksgiving.
This is the recipe I grew up with. Mom made the best pies and the crust was delicious! It is without a doubt “perfect”